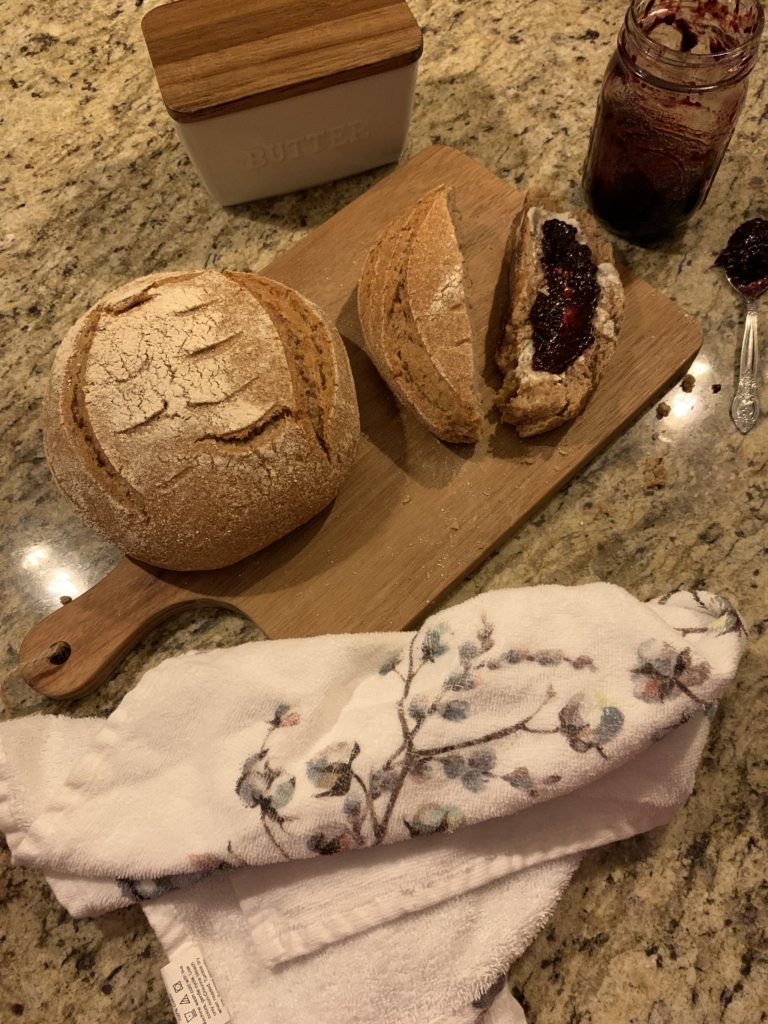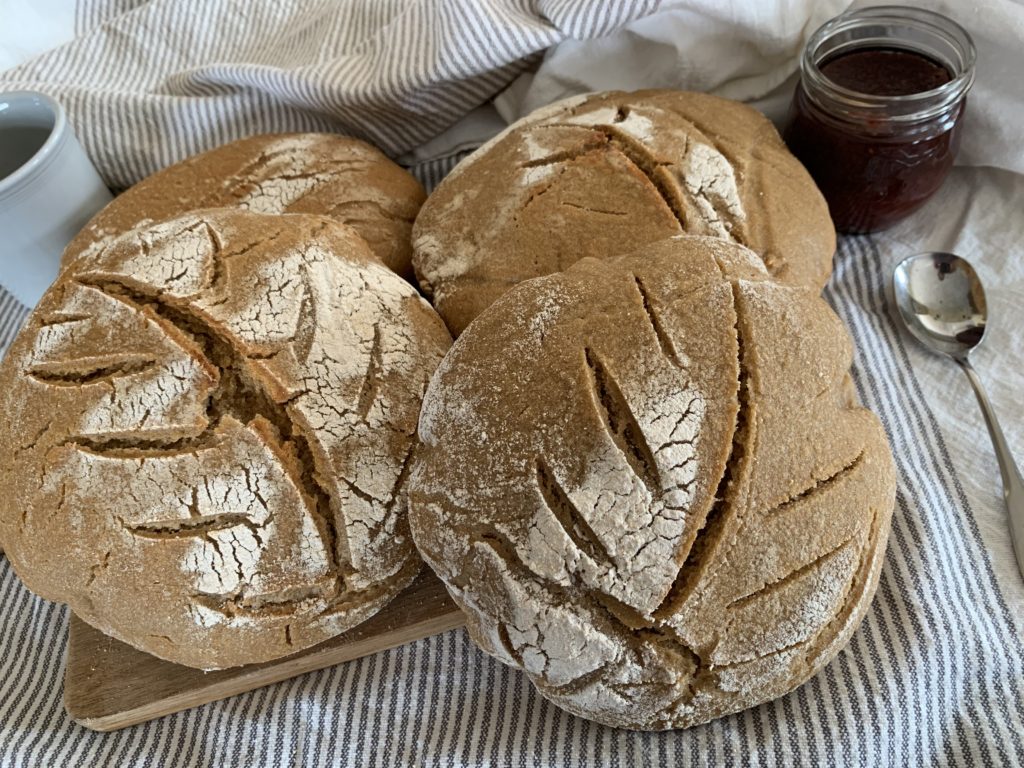
There’s something wonderful and nostalgic about slicing into a warm sourdough loaf, and lathering it with butter and jam.
I love getting my hands in a bowl of dough, kneading and pulling, and anticipating my children running into the kitchen to help me. One of the most rewarding things as a mom is watching them learn how the process works. Their little eyes light up as they see it rise and anticipate its goodness while they view it baking through the oven window. They understand good things come when we are patient.
For centuries making bread has been a staple of homemaking. A home isn’t just about good food and a warm kitchen. It is about who gathers around to enjoy breaking bread together. This is homemaking and I live for a life like this.
My family is what motivates me to get out of bed in the mornings and knowing I am feeding them the best way I know how. They keep me focused in the area of meal preparation and serving what is good for them. Someday my children will have to use these skills so it is my role to help them learn.

Long-ferments are the very best way to serve grains and it is easily digestible to even the most intolerant, or one who has allergies to wheat.
I have two daughters that used to struggle with all grains, and before I learned how to ferment, they could not eat anything that touched wheat because of pretty severe reactions. Today, they are a testament to what proper planning can do in the life of a person who has intolerances to many different foods. Needless to say, tolerating breads of any kind has taken them several years of healing, but it was well worth the wait.
Below is the recipe that I have used for several years and is my go to every 4 or 5 days. The measurements need to be precise for best results. I hope you truly enjoy!

(I start this part before breakfast.)
950 g. flour (I use whole white wheat or spelt)
700 g. room temperature water
Mix with your hands and form a ball. Cover and let sit for about an hour.
Add 15-17 g. salt and 200 g. active sourdough starter to your formed dough ball. Mix in gently with your hands. Cover and allow to soak for 30 min.
Use the “pull up and fold in” method about 10 times. (I have a highlight under “sourdough” on Instagram if you want to know what this looks like for me.) You will pull/fold every 30 minutes for the next few hours. Each time, covering it and setting it in a warm place in your home. After the 2-3 hours of pull/fold, cover and allow to rise for the rest of the day.

Before I go to bed, I dust the counter with flour, carefully dump the dough out onto the flour, & divide it into 2 equal parts. Shape into loaves. Leave on counter uncovered for about 30-45 minutes to form a skin on loaves. (again, how I do this is in my “sourdough” highlight on IG)
Lay tea towels in 2 bowls, dusted with flour. Place loaf in each bowl face down. Make this air tight and refrigerate overnight.
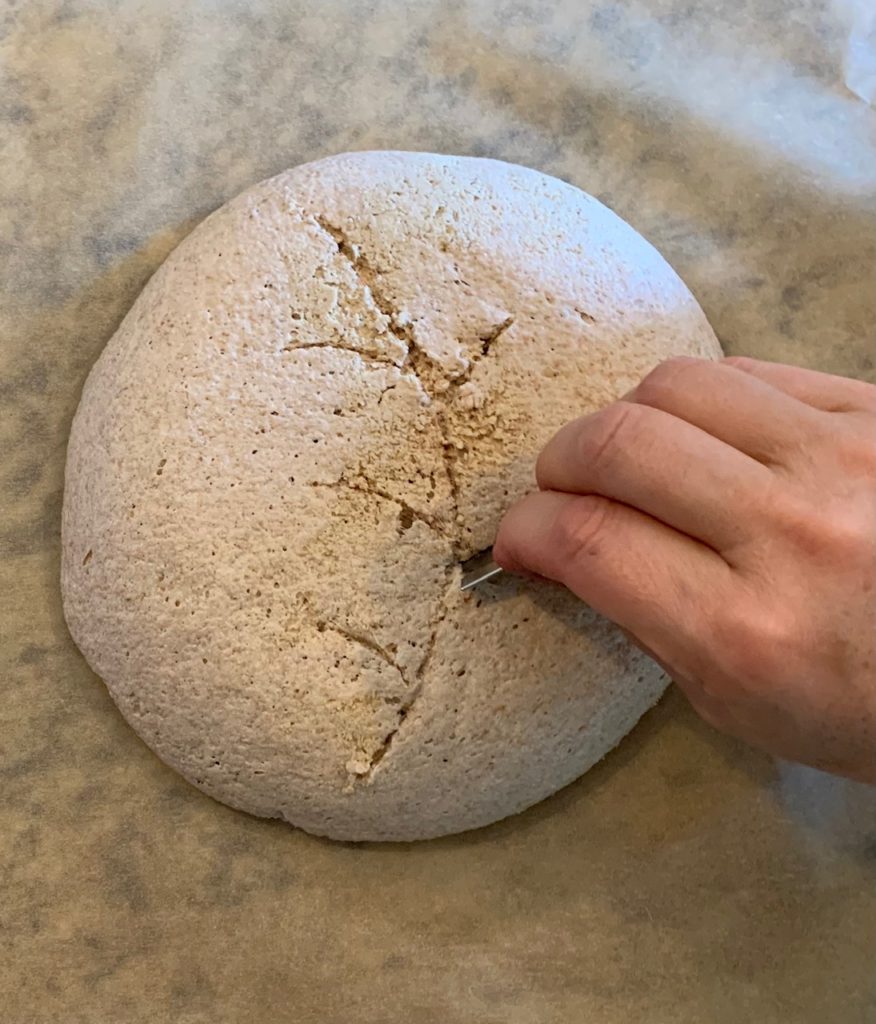
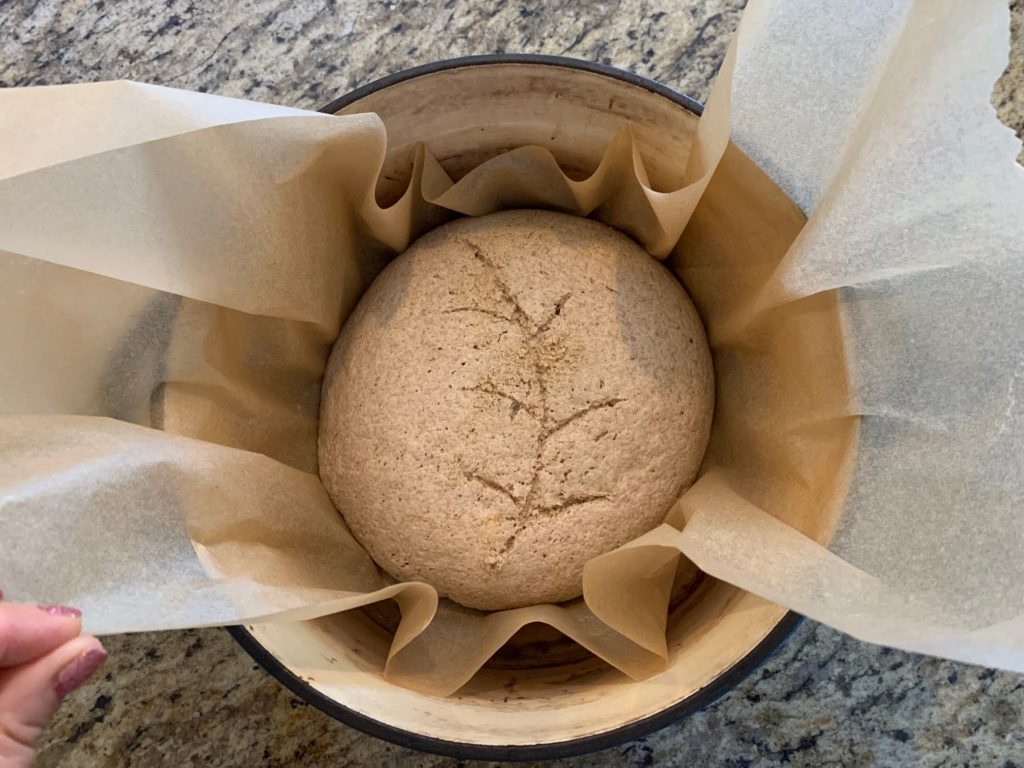
When you wake up in the morning, preheat your dutch oven at 475°. Lay out parchment paper on your counter. Dump loaves on top, face side up. Score. Place in hot dutch oven with the lid on for 25 min. Then take the lid off and toast for 10-15 more minutes.
Allow to cool on counter before slicing.
Natalie