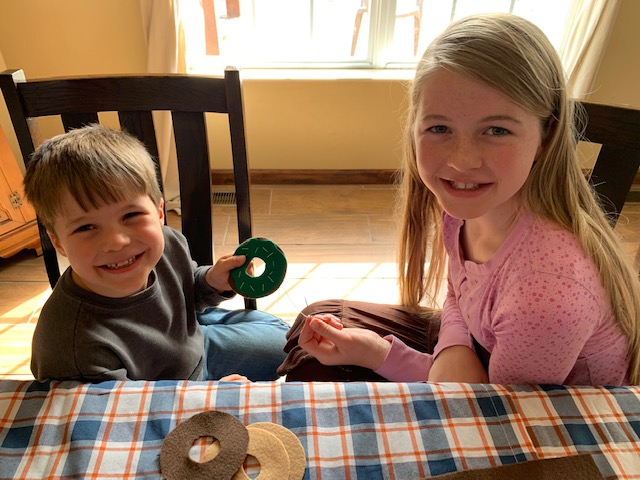
Some of the best memories for me as a homeschool mom are sitting around at the table together doing a little craft. Each little personality comes out and I get to see how creative they can be.
I am amazed at children’s abilities to learn so quickly. Once they catch the creativity bug and succeed in the small things, they have an eagerness to do more with their hands.
Every once in a while, we will treat the children to Krispy Kreme when we all go to town. They peer through the glass window and watch the conveyer belt rolling in hundreds and hundreds of doughnuts. They especially like to watch the machine pour the frosting on top of the glazed ones. It’s something that they look forward to.
Almost every time, the very next day you will see the older ones set up a doughnut shop where they serve pretend hot coffee and every kind of doughnut that you can think of. Typically, they have always made the doughnuts out of cardboard or paper, and decorated them with markers or glitter-glue.
This is what made me want to sew our own out of felt. I thought it would be a fun project, knowing they would get lots of use from them.
I will show you the pictures in order of how I created a template by hand based on how the kids wanted them to look. I also posted a sweet little video on each step we took.
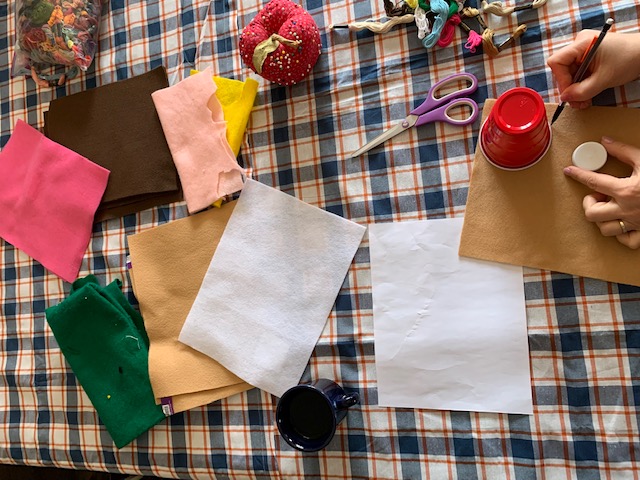
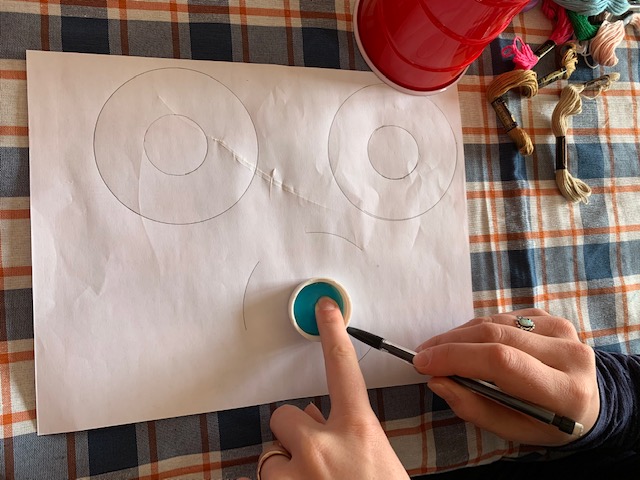
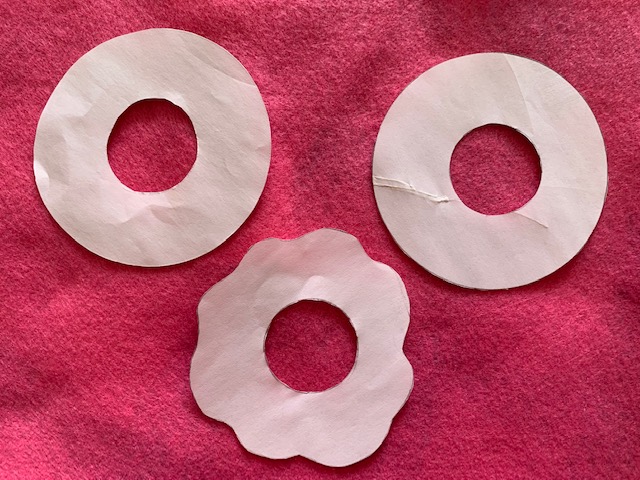
I traced around the top of a solo cup for the size of the doughnut. I then used a bottle cap to trace the doughnut hole. The only thing I would have done differently is used a smaller cap for the hole. In my opinion, it was too big, but at the time, it was all I had on hand.
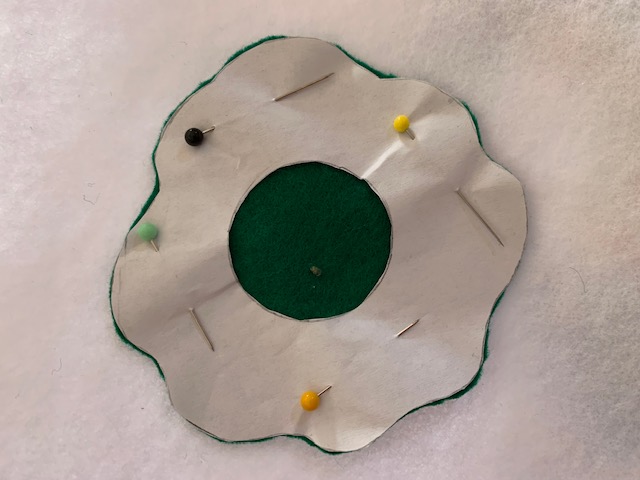
The squiggly circle you see is the frosting template.
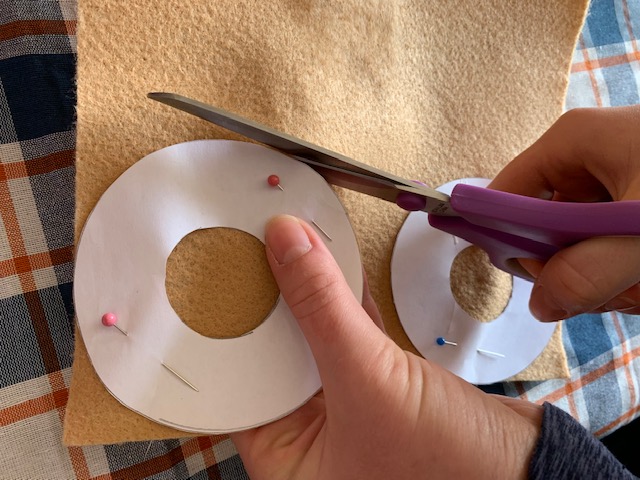
Pin your templates onto your felt and cut everything out at once.
(see description below)
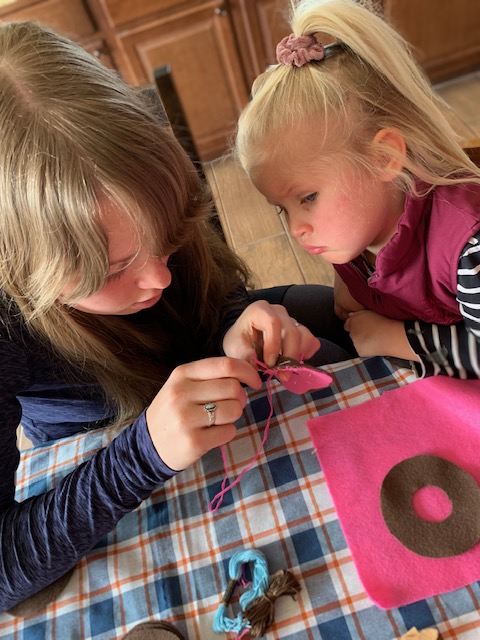
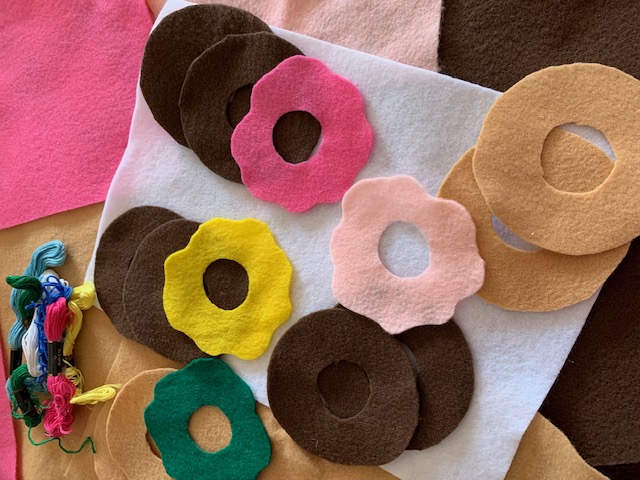
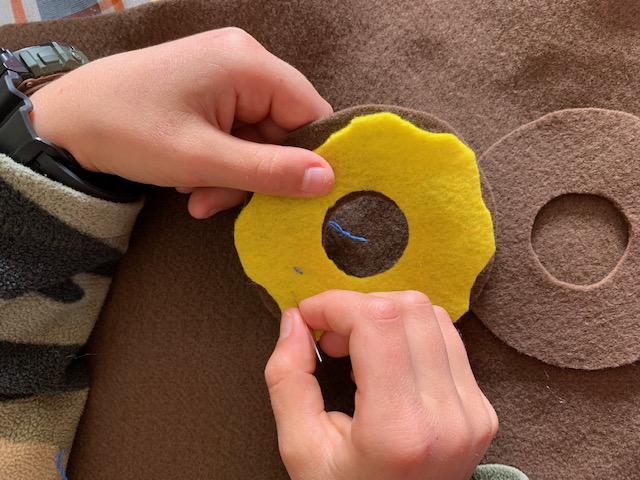
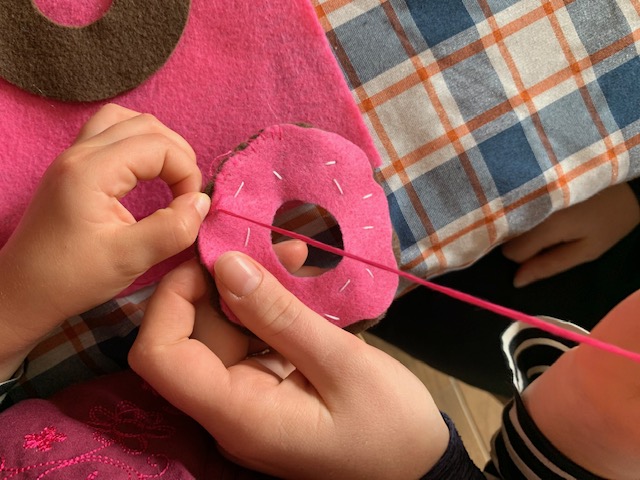
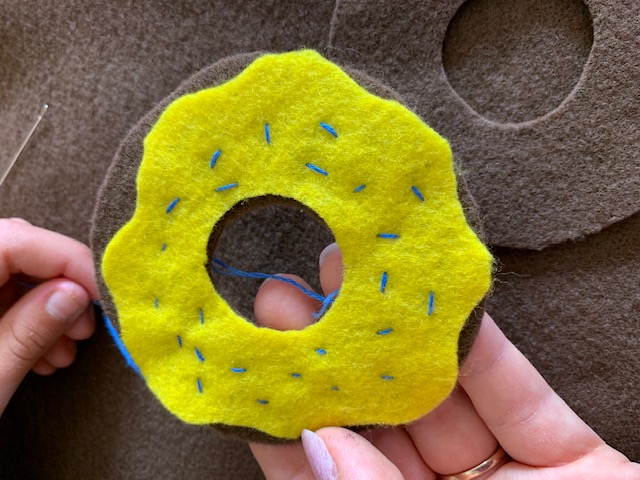
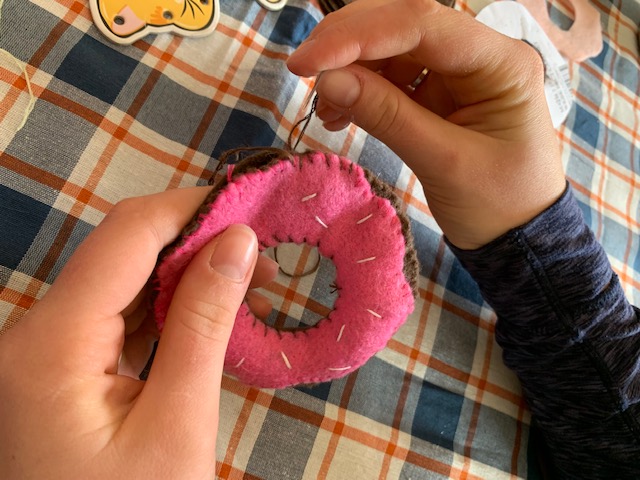
Once you decide on the color of your felt frosting and with which color of doughnut is best goes with, start sewing the frosting to the top part of a circle with embroidery thread.
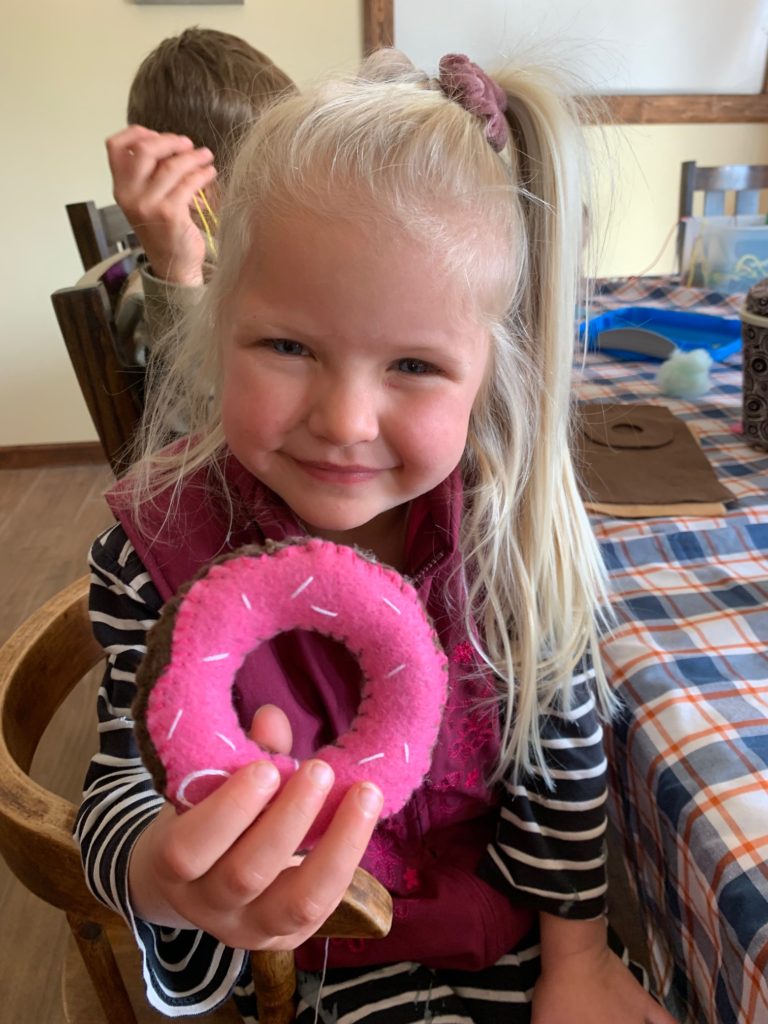
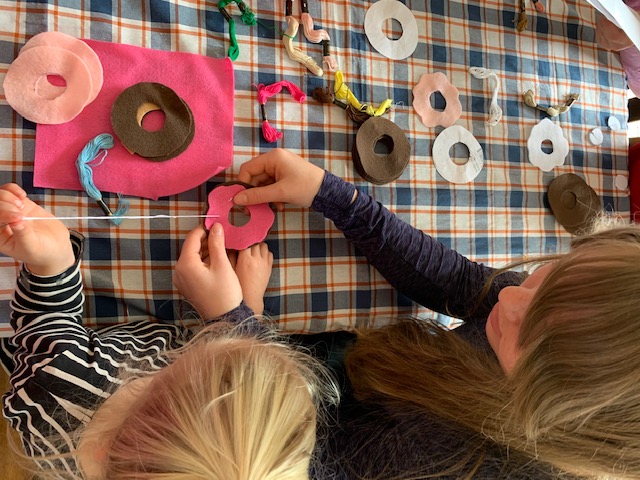
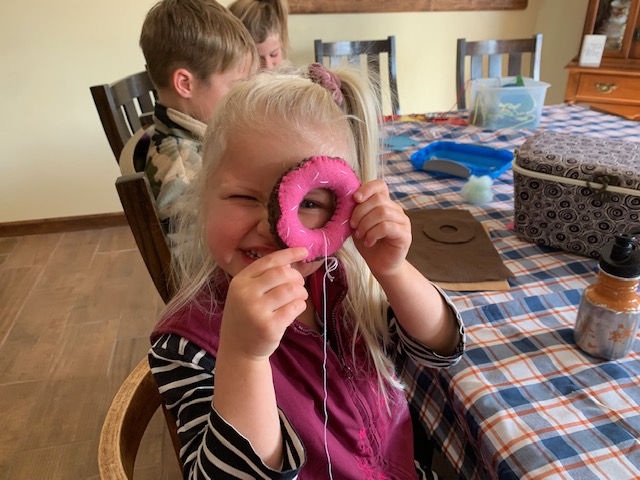
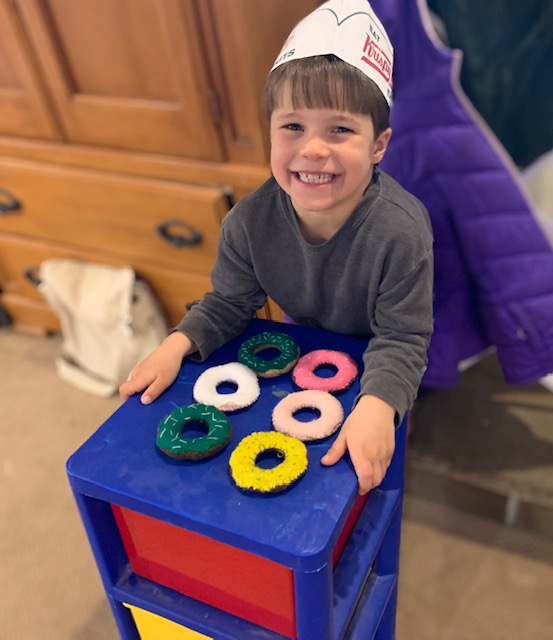
As you may have noticed, the kids chose chocolate, cinnamon, and strawberry colors. The boys picked green for mint and yellow for lemon! Some wanted sprinkles on their frosting as you can see in the last picture below.
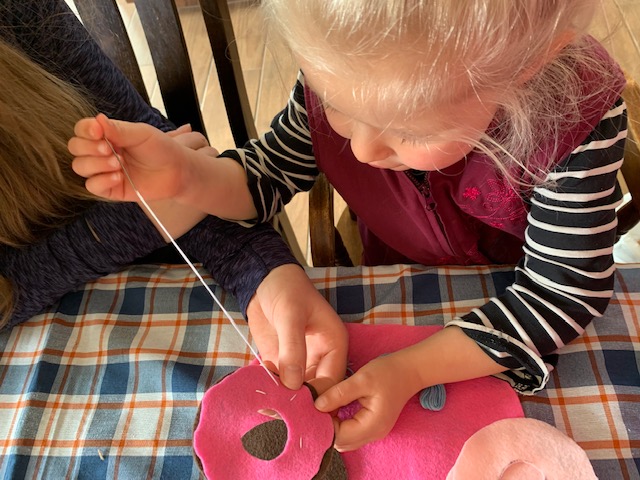
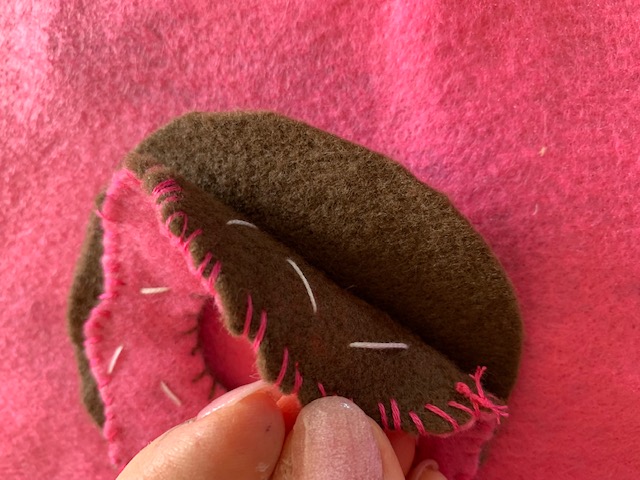
Using the color of thread of your preference, sew your frosting edges into the doughnut to make a tight bind. (shown below in picture #5)
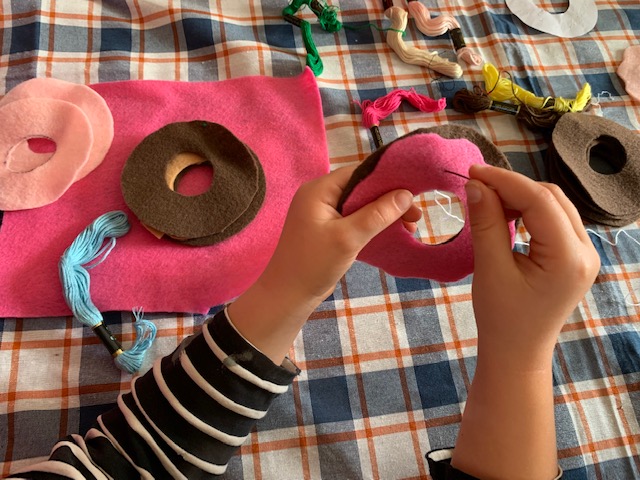
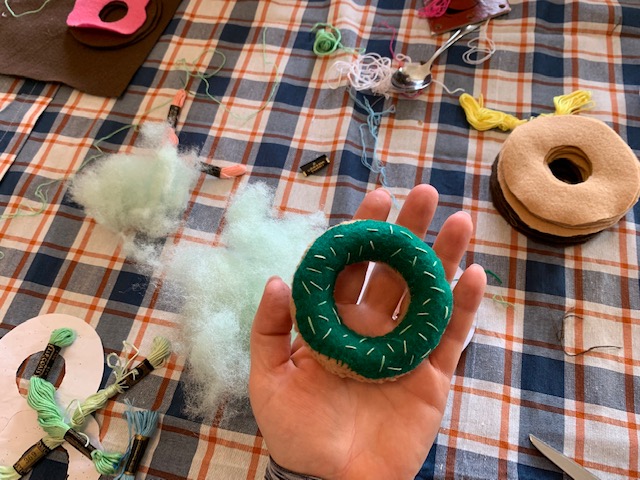
Below you will see that you are ready to sew the second circle to the doughnut, leaving a gap for the stuffing (shown in second picture.) Make sure both circles are flat, on top of each other. Once the doughnut is stuffed with polyfill, or stuffing of your choosing, sew the remainder of the felt completely shut. And there you go! You have your own handsewn doughnuts!
As I already mentioned, you can see that I made the doughnut holes too large. If we ever make more of these, I will find a smaller cap to make another template. For now, the kids think nothing of it.
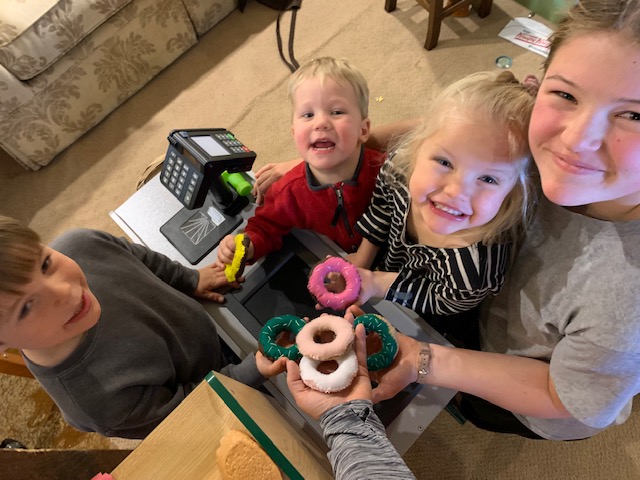
All that matters is it was a memorable day and they will have many, many afternoons of playing doughnut shop together. And to me, that is what makes it perfect.